
Toyota Highlander Service Manual: Transmission control cable ASSY (ATM)
REPLACEMENT
1. REMOVE INSTRUMENT CLUSTER FINISH PANEL ASSY CENTER (SEE PAGE 71-10 )
2. REMOVE FLOOR CARPET COVER CENTER RH (SEE PAGE 71-10 )
3. REMOVE FLOOR CARPET COVER CENTER LH (SEE PAGE 71-10 )
4. REMOVE BATTERY
5. REMOVE AIR CLEANER ASSY
6. REMOVE AIR CLEANER HOSE NO.1
7. REMOVE TRANSMISSION CONTROL CABLE ASSY
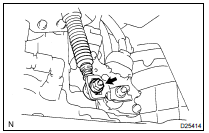
(a) Remove the nut from the control shaft lever.
(b) Disconnect the control cable from the control shaft lever.
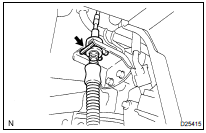
(c) Remove the clip and disconnect the control cable from the control cable bracket.
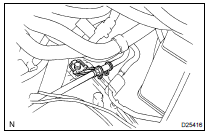
(d) Disconnect the control cable from the control cable clamp.
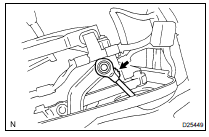
(e) Disconnect the cable end from the rod of the floor shift assy.
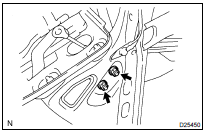
(f) Remove the 2 nuts.
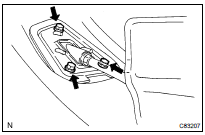
(g) Remove the 3 bolts.
(h) Pull out the control cable from the body.
8. INSTALL TRANSMISSION CONTROL CABLE ASSY
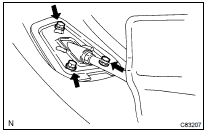
(a) Pull in the control cable to the body.
(b) Install the 3 bolts.
Torque: 4.9 NVm (50 kgfVcm, 43 in.Vlbf)
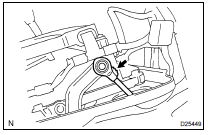
(c) Install the cable end, as shown in the illustration.
HINT: Install it with the uneven surface facing up.
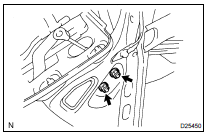
(d) Install the control cable and 2 nuts.
Torque: 11.8 NVm (122 kgfVcm, 9 ftVlbf)
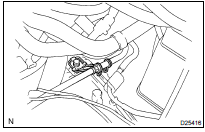
(e) Connect the control cable to the control cable clamp.
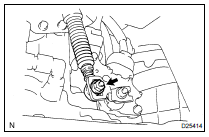
(f) Temporarily install the control cable to the control shaft lever with nuts.
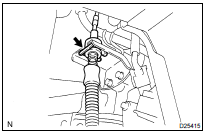
(g) Install the control cable and clip to the bracket.
9. INSTALL AIR CLEANER ASSY
10. ADJUST SHIFT LEVER POSITION (SEE PAGE 40-71 )
11. INSPECT SHIFT LEVER POSITION (SEE PAGE 40-71 )
 Key inter lock solenoid (ATM)
INSPECTION
1. INSPECT KEY INTER LOCK SOLENOID
(a) Disconnect the solenoid connector.
(b) Connect KLS+ (4) terminal to the batteries' positive (+)
terminal, and KLS- (3) terminal to the battery ...
 Steering column
...
More about Toyota Highlander:
Overhaul
1. REMOVE DRAIN PLUG
(a) Remove the drain plug.
(b) Remove the O-ring.
2. ASSEMBLE SST
SST 09230-01010
(a) Install the claw to the overhaul handle, inserting it in the
hole in part A as shown in the illustration.
(b) While gripping the handle, adjust the stopper bolt so that
dimension B ...
